# Welcome

{% hint style="warning" %}

### Java Required

You must install Java before using Servercraft, which can be downloaded from Oracle: <https://www.oracle.com/java/technologies/downloads/>
{% endhint %}

## Welcome to Servercraft docs!

&#x20;Here you'll find all the documentation you need to get up and running with the Servercraft app, CLI, and npm package!

{% hint style="success" %}
All versions of Servercraft can be used interchangeably.
{% endhint %}


# App

## Download

The Servercraft **app** is only available for macOS & Windows on [itch.io](https://coolstone.itch.io/servercraft).&#x20;

{% hint style="info" %}
If you get a popup saying the app is unverified on macOS, read [this](https://support.apple.com/guide/mac-help/open-a-mac-app-from-an-unidentified-developer-mh40616/mac).
{% endhint %}

{% embed url="<https://coolstone.itch.io/servercraft>" %}


# Set up

{% hint style="warning" %}

### Java Required

You must install Java before using Servercraft, which can be downloaded from Oracle: <https://www.oracle.com/java/technologies/downloads/>
{% endhint %}

<figure><img src="https://3925977709-files.gitbook.io/~/files/v0/b/gitbook-x-prod.appspot.com/o/spaces%2F6KUytwtRFlOcYvOO6fpF%2Fuploads%2F9VwSp0BZhXuAjFifH9CH%2Fv2_setup.png?alt=media&amp;token=291ec7b7-5f5a-4a14-bd09-cc8c967f0986" alt=""><figcaption></figcaption></figure>

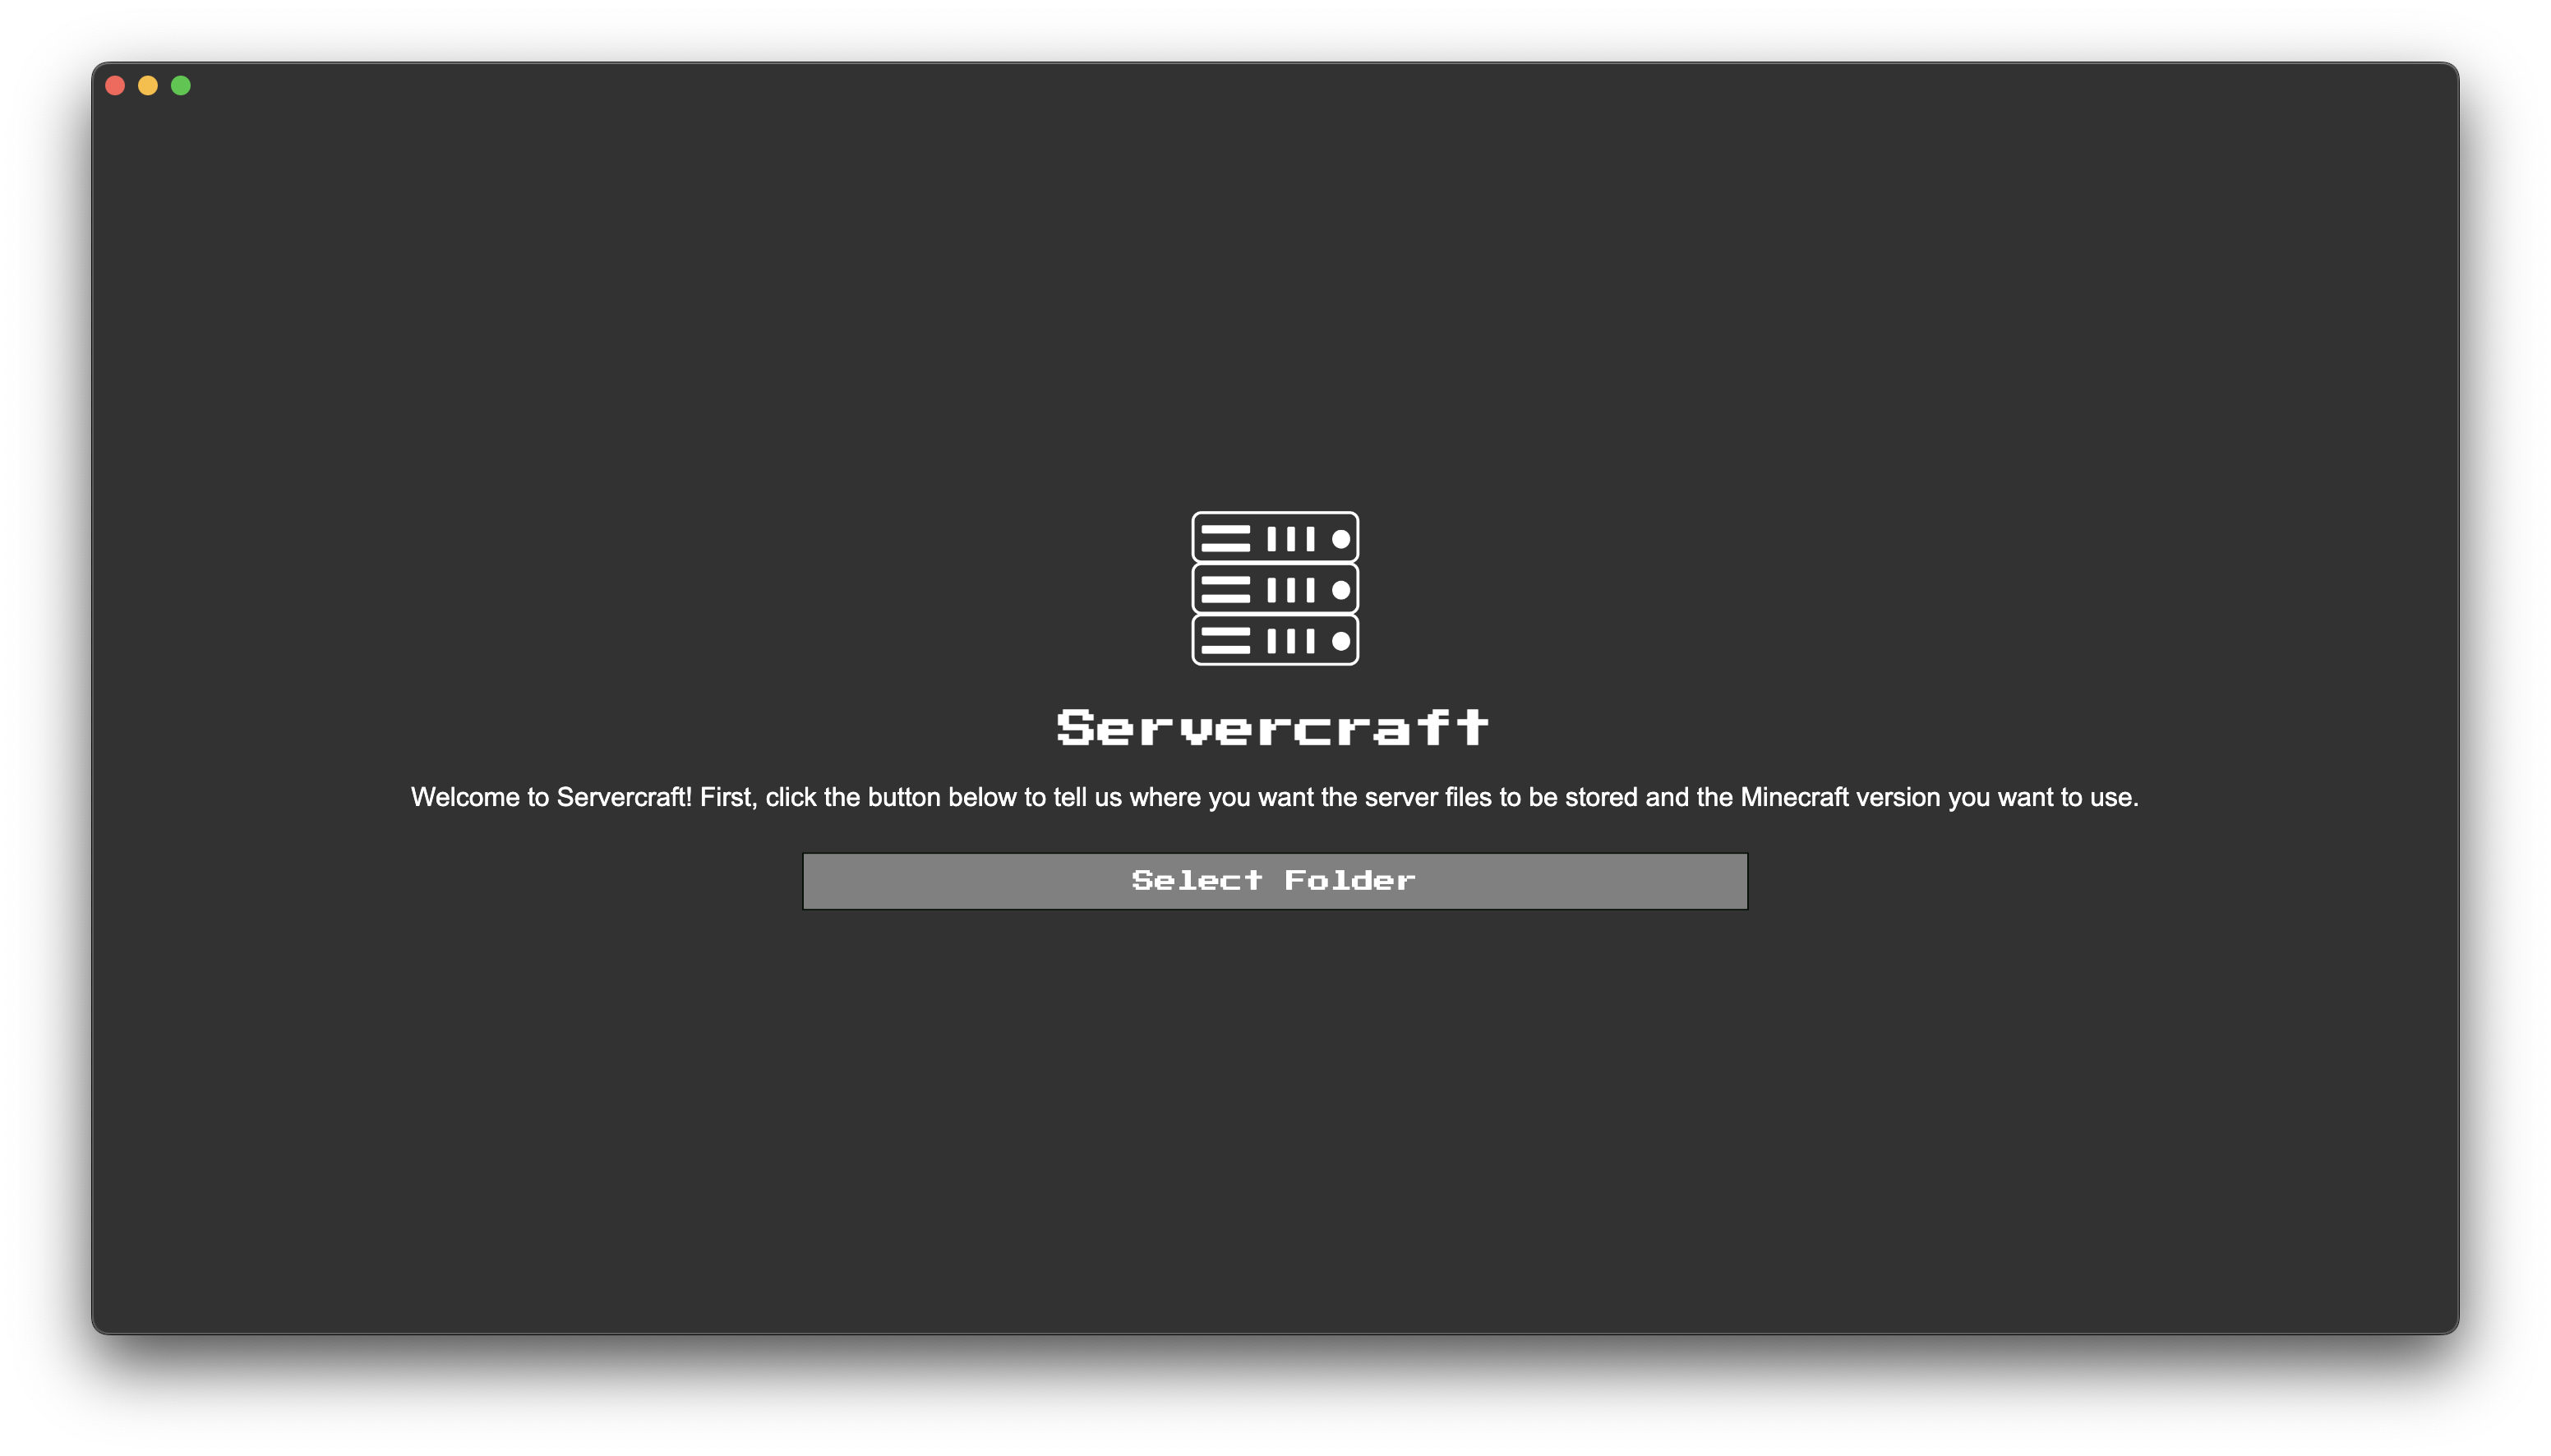
## 1. Select Folder

Select the folder to download the files to.

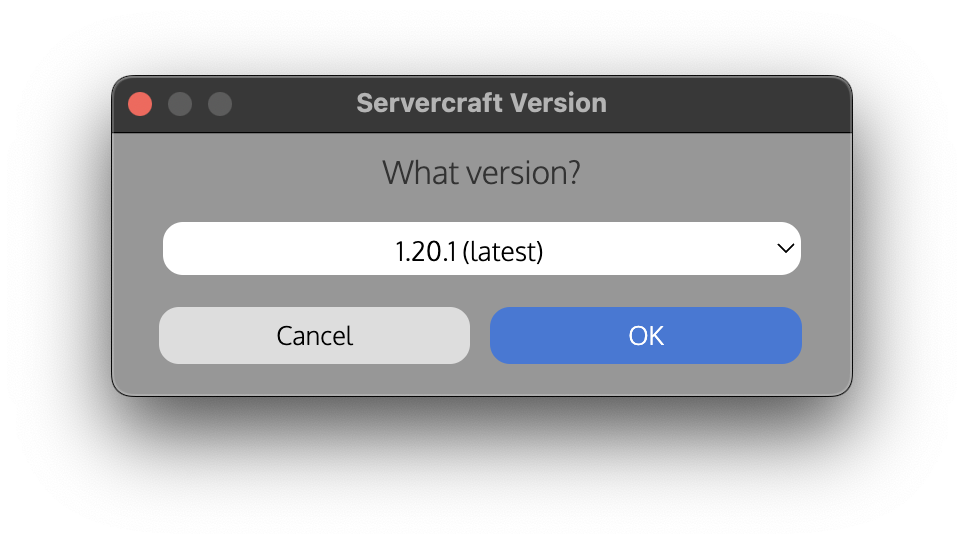
## 2. Select Version

<figure><img src="https://3925977709-files.gitbook.io/~/files/v0/b/gitbook-x-prod.appspot.com/o/spaces%2F6KUytwtRFlOcYvOO6fpF%2Fuploads%2FAp39q9Qp0ZDAsxIlRo9L%2Fv2_v.png?alt=media&amp;token=90d1282d-f2c6-48cf-91cf-ee41f54d1304" alt="" width="375"><figcaption></figcaption></figure>

You will then be asked to select a version to install. Select any you wish but we recommend the latest.

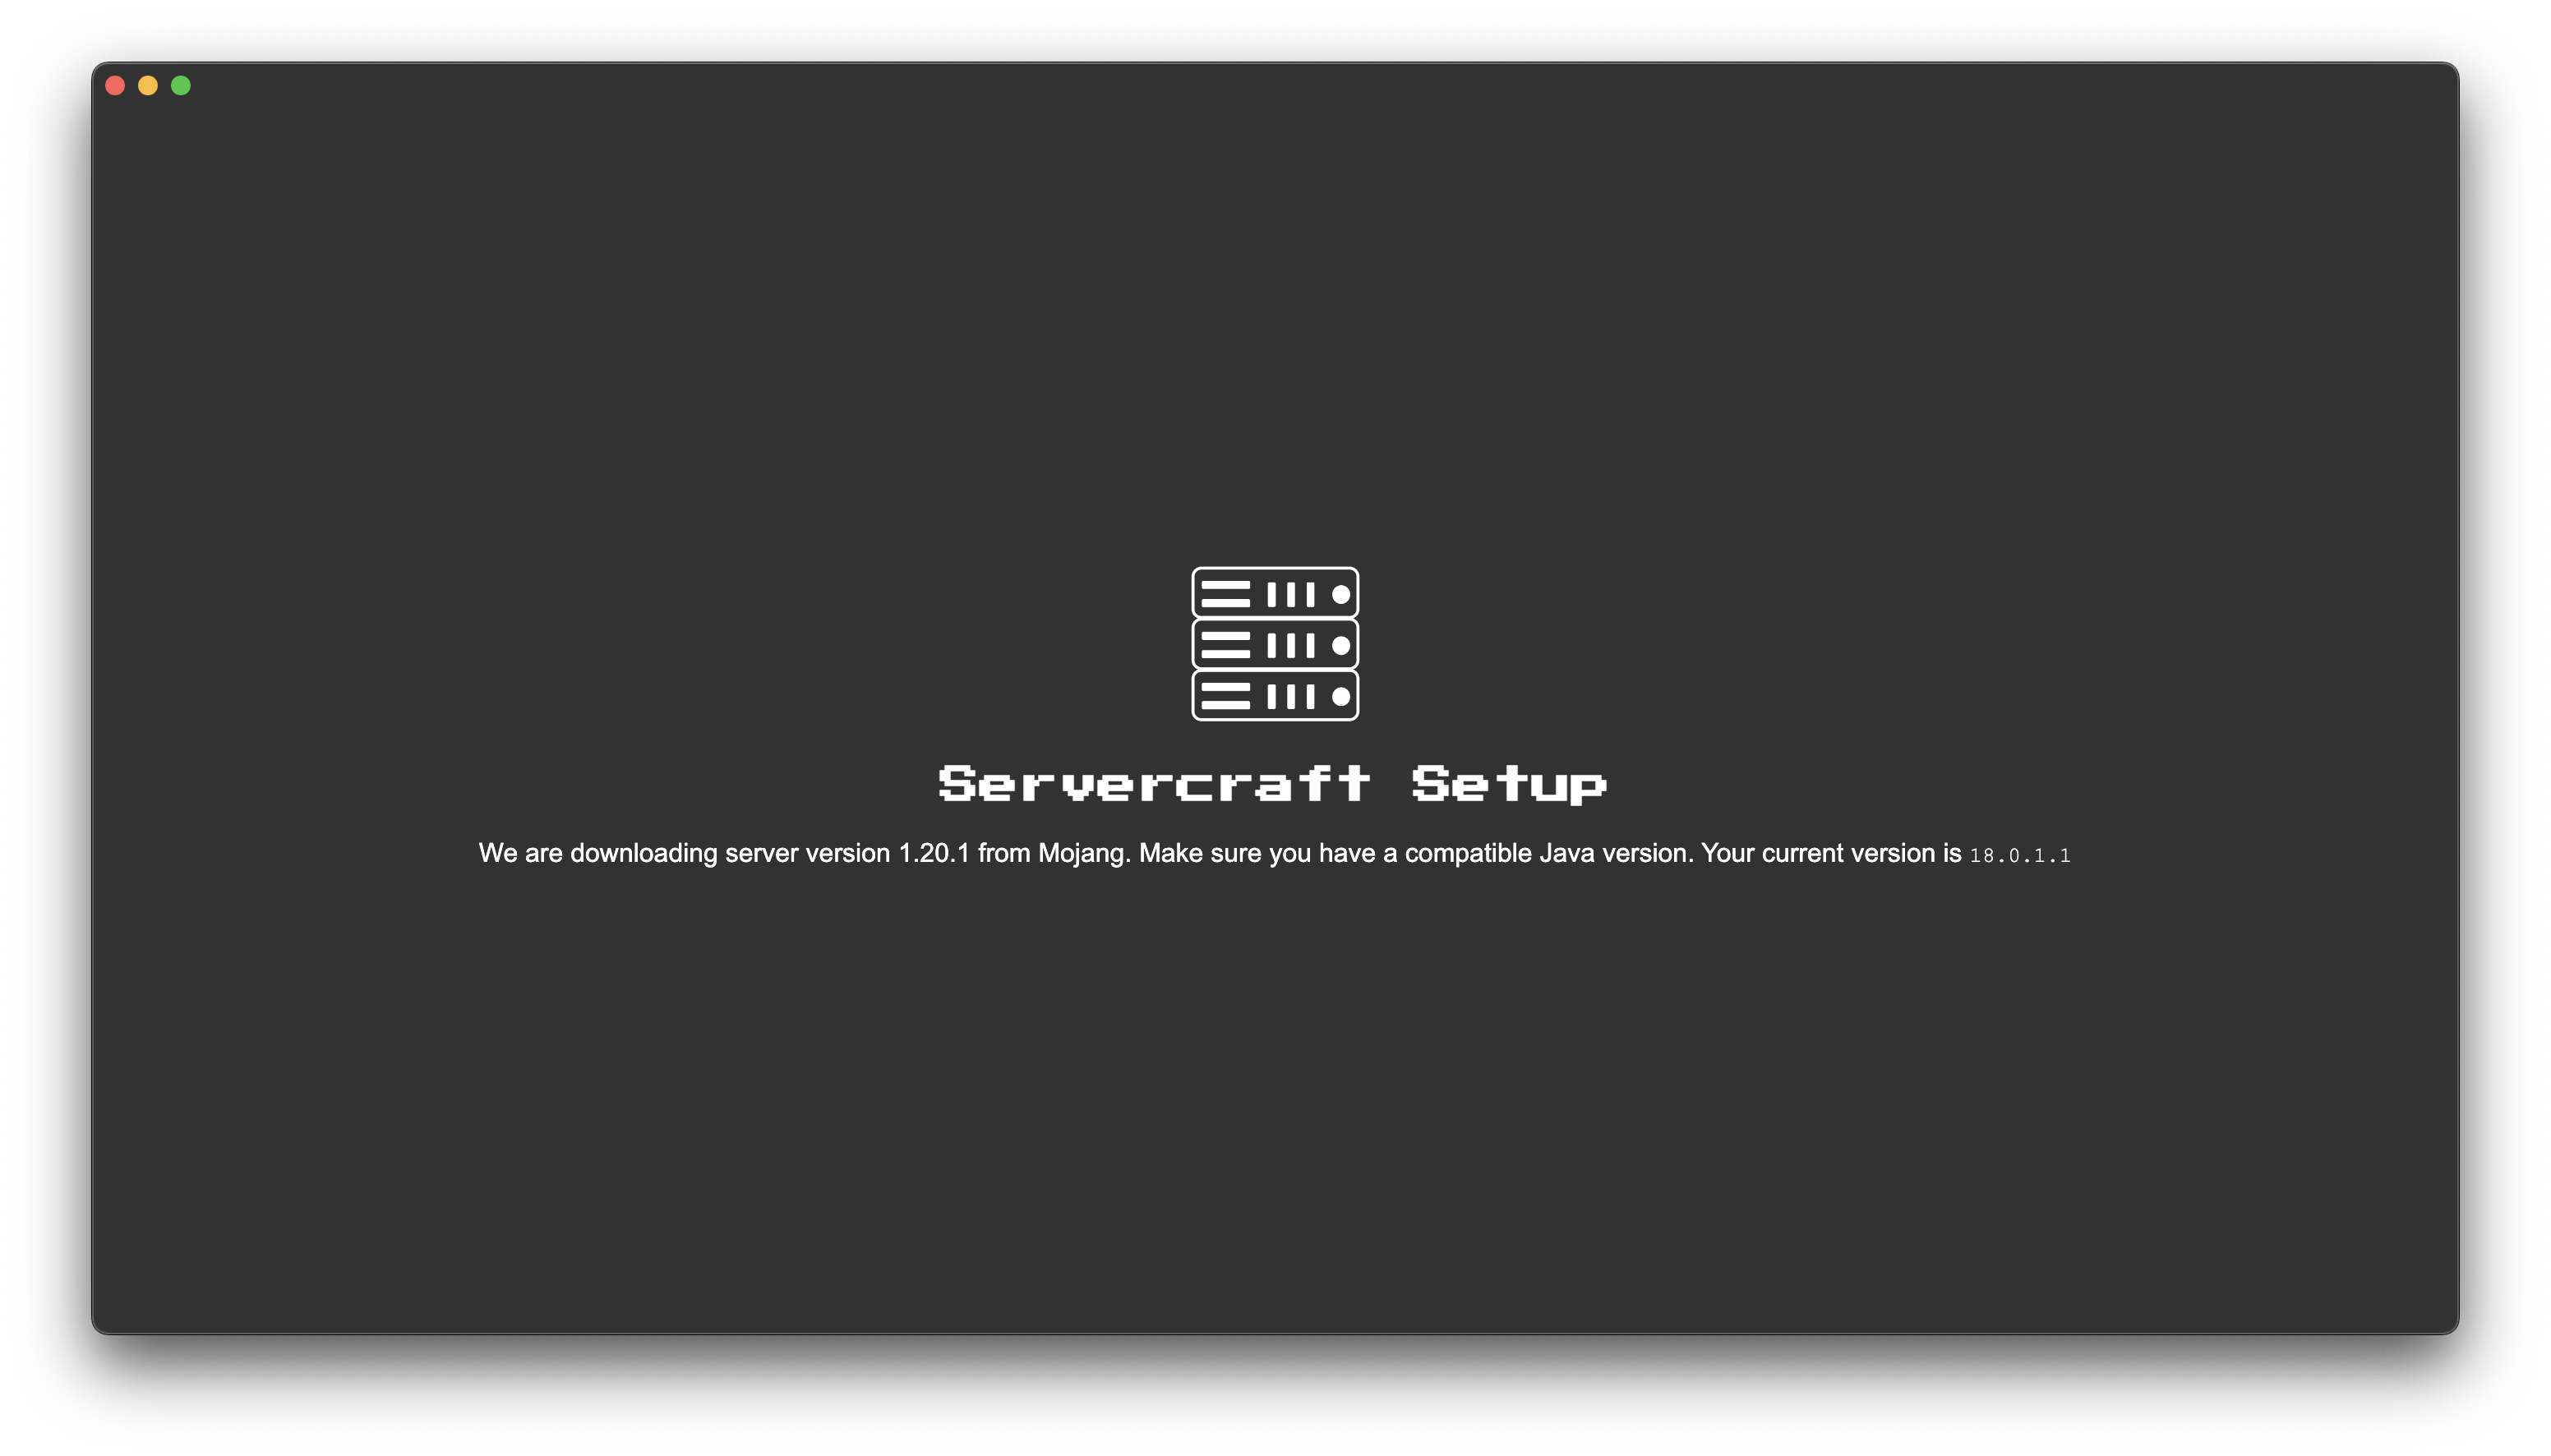
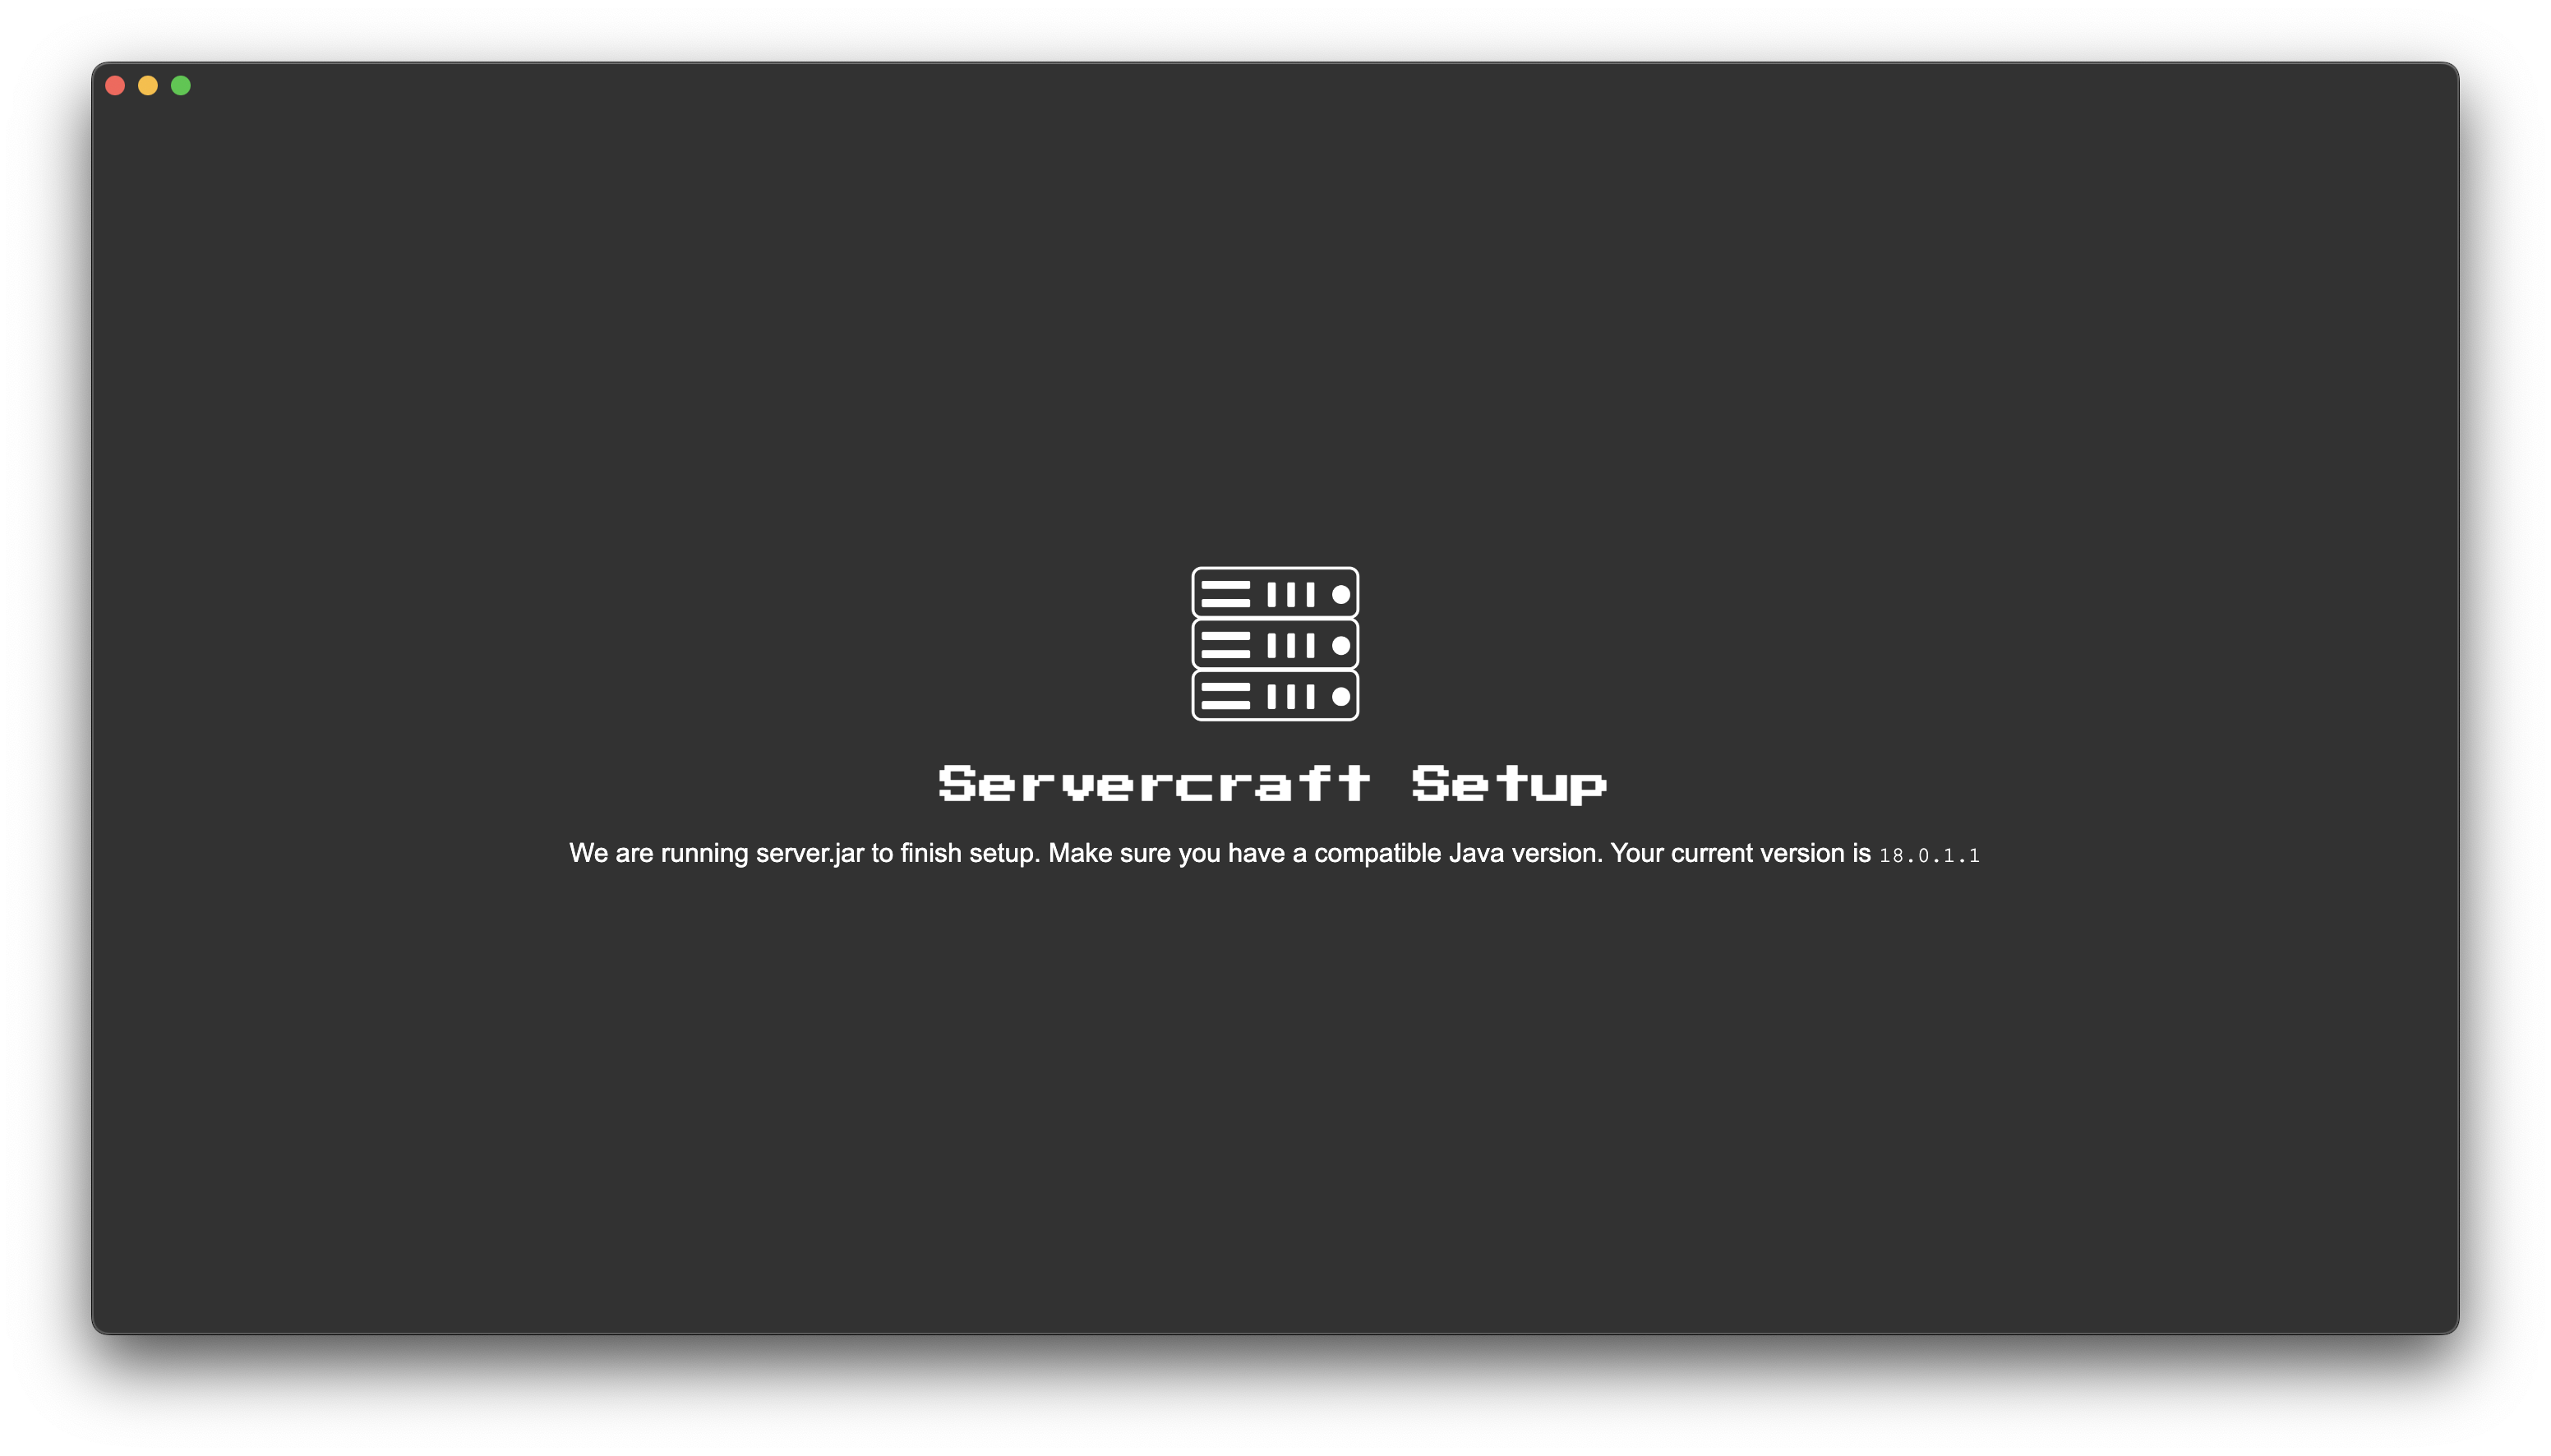
## 3. Wait for Servercraft to download the files

<div><figure><img src="https://3925977709-files.gitbook.io/~/files/v0/b/gitbook-x-prod.appspot.com/o/spaces%2F6KUytwtRFlOcYvOO6fpF%2Fuploads%2FQl70TCIU8GAloAgWZxGd%2Fv2_download.png?alt=media&amp;token=e68fa316-0a07-4359-853f-bbd1b378d0e4" alt=""><figcaption></figcaption></figure> <figure><img src="https://3925977709-files.gitbook.io/~/files/v0/b/gitbook-x-prod.appspot.com/o/spaces%2F6KUytwtRFlOcYvOO6fpF%2Fuploads%2F9nvYG20FF2elUyWhQg1d%2Fv2_finishing.png?alt=media&amp;token=99c36d3b-96b6-4c16-be82-42f8cec3ea39" alt=""><figcaption></figcaption></figure></div>

## 4. Accept the Minecraft EULA

When the EULA opens, set `false` to `true` then save and exit. Your server is now set up and ready to start! If you wish to use ngrok, go to the ngrok settings, set an authtoken and click Toggle ngrok!


# Use

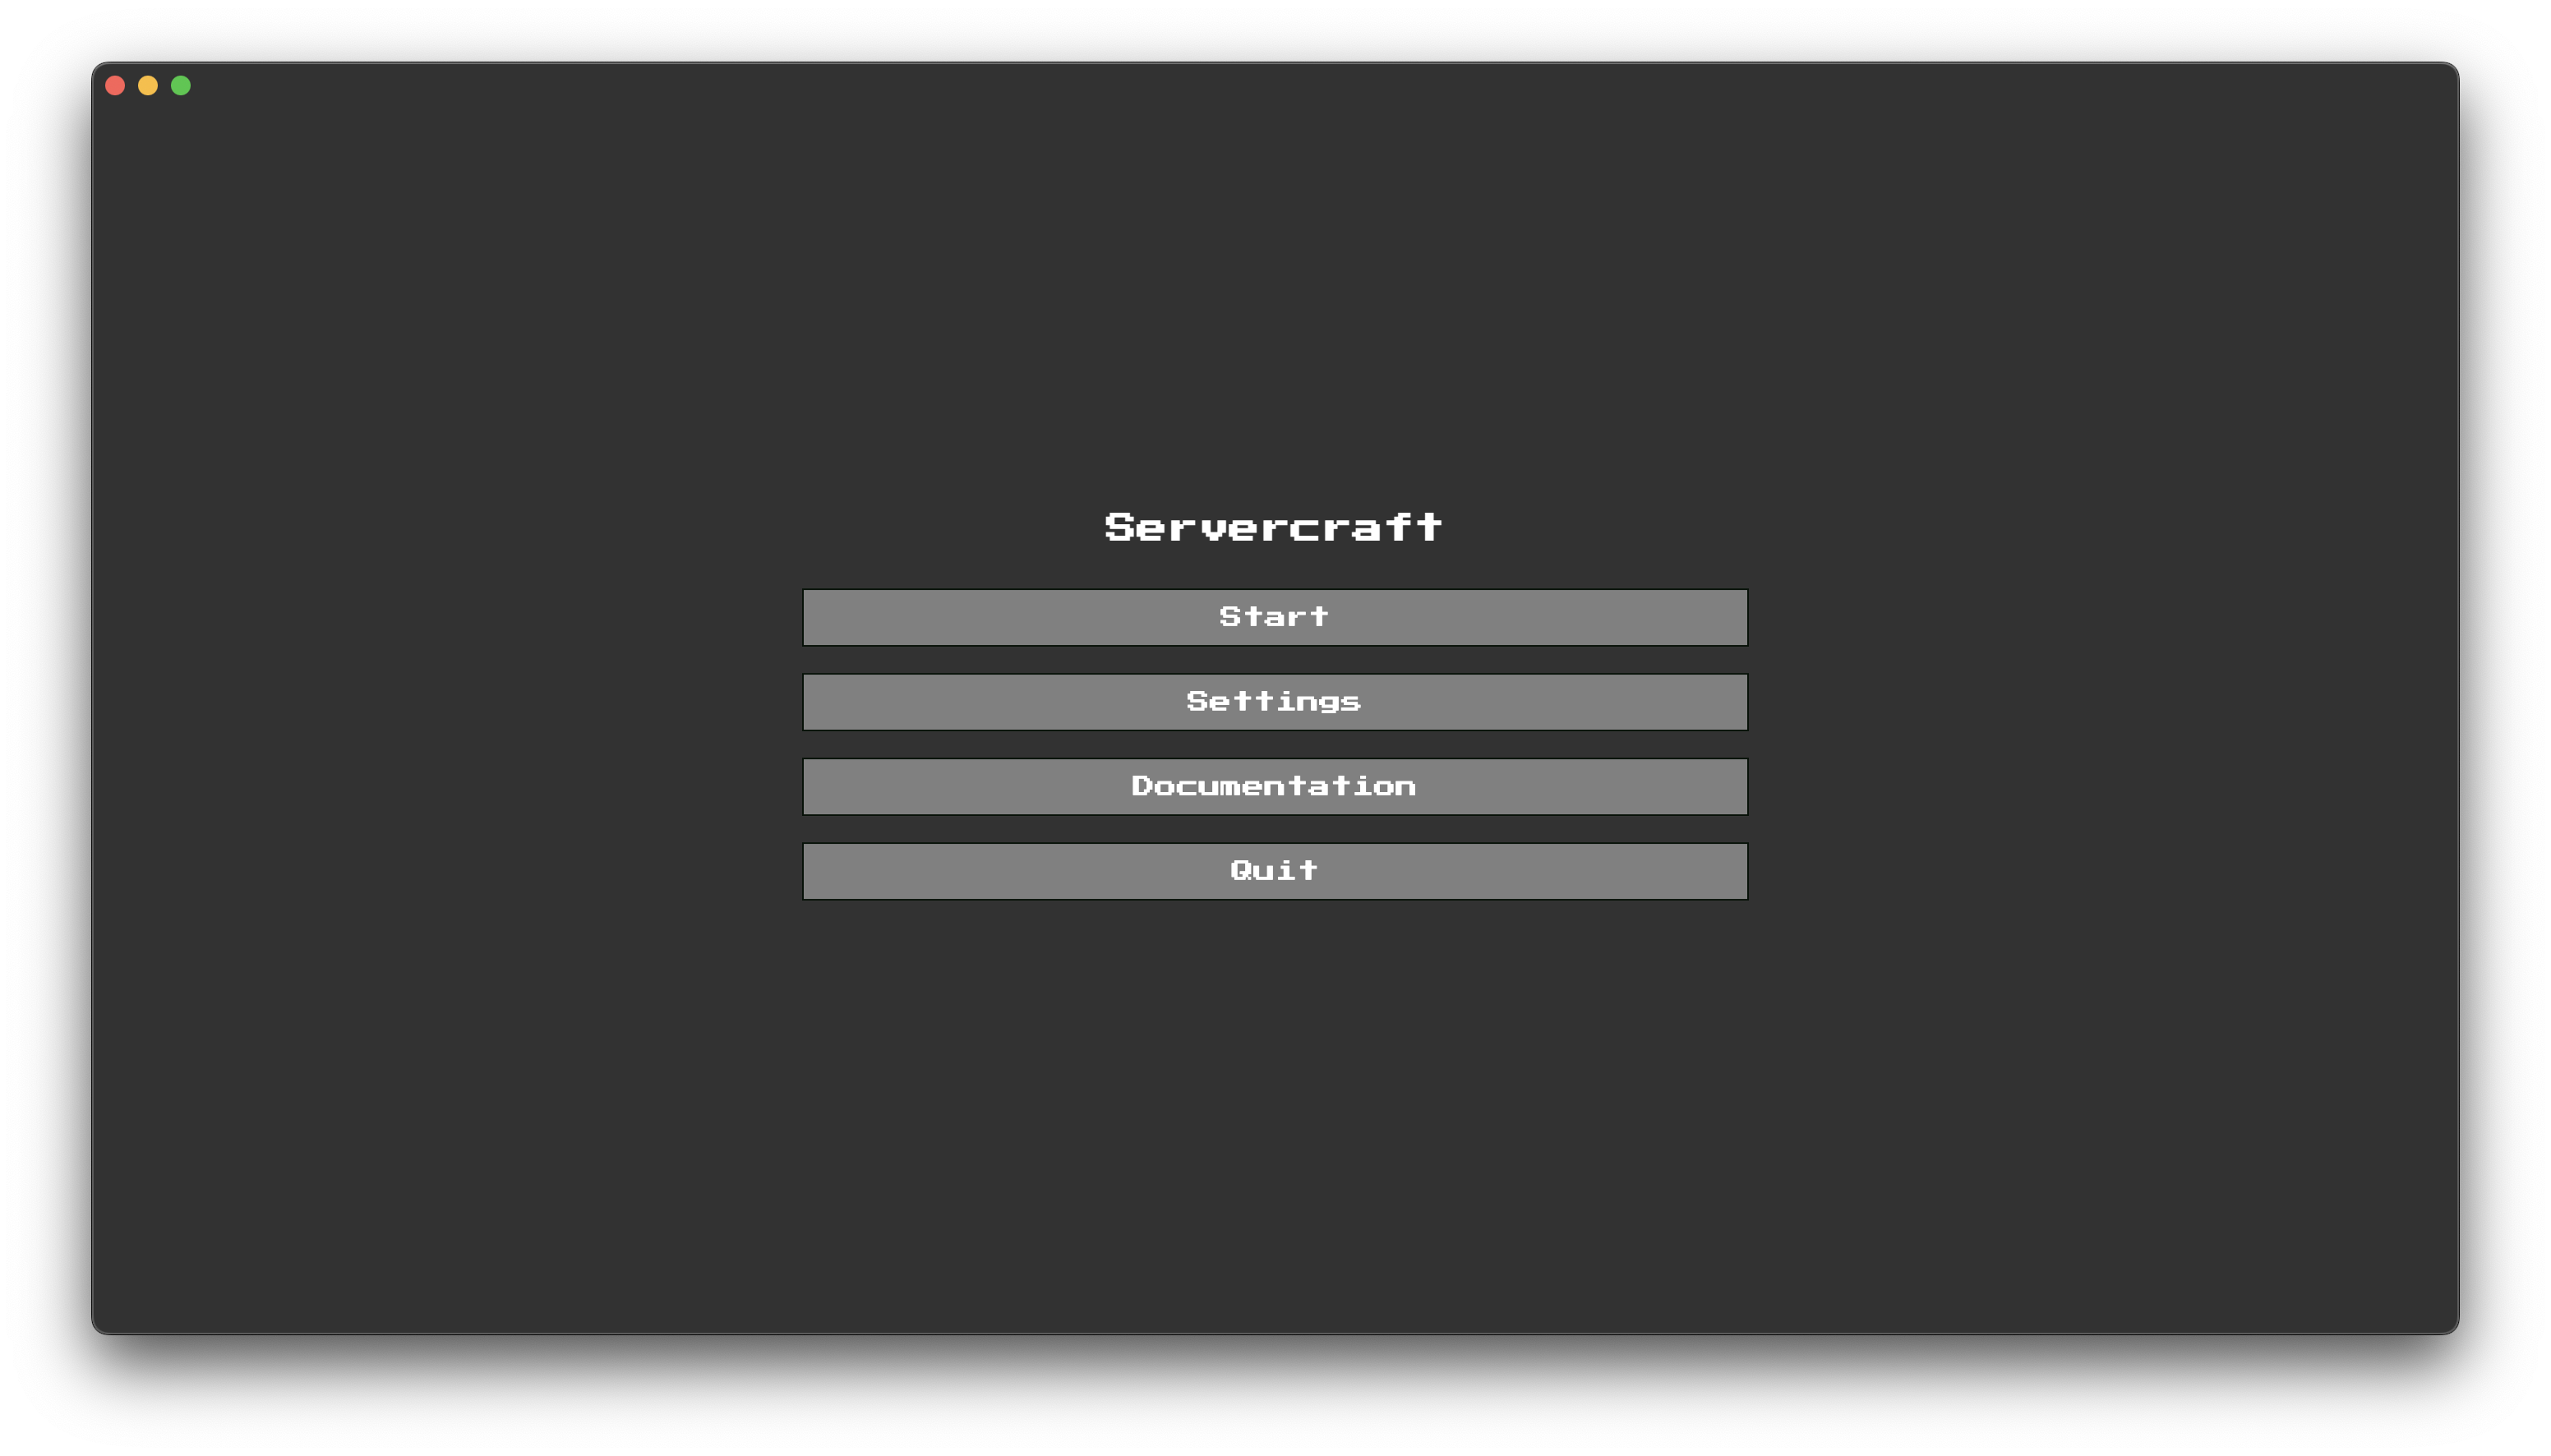
Once the server files have been set up, there will be several options.

<figure><img src="https://3925977709-files.gitbook.io/~/files/v0/b/gitbook-x-prod.appspot.com/o/spaces%2F6KUytwtRFlOcYvOO6fpF%2Fuploads%2FGv90Yu3LTe2pONemJ6yI%2Fv2.png?alt=media&amp;token=73871aae-62b3-45d3-af31-b3cf62103665" alt="Servercraft menu: Start, Settings, Documentation, Quit"><figcaption></figcaption></figure>

### Start

Starts the server

### Settings

Opens the settings pane.

{% content-ref url="/pages/7mGKPGlMyeWYFFMrFp85" %}
[Settings](/app/settings)
{% endcontent-ref %}

### Documentation

Opens this website.

### Quit

Quit the app.


# Settings

<figure><img src="https://3925977709-files.gitbook.io/~/files/v0/b/gitbook-x-prod.appspot.com/o/spaces%2F6KUytwtRFlOcYvOO6fpF%2Fuploads%2FJa6Rd3NcwIyUlx3NAgf7%2Fv2_settings.png?alt=media&amp;token=57e7ea6e-0b78-4287-96ba-57c653048b1e" alt="Servercraft settings. Information below."><figcaption></figcaption></figure>

## Set Args

Set the command line arguments.

{% content-ref url="/pages/owxgOgP5SVPBxVRVBXgn" %}
[Command-line Arguments](/args)
{% endcontent-ref %}

## Set memory allocation

Set the minimum or maximum memory allocation for the server.

## Configure properties

Change your server's .properties file.

## Change directory

Change the server folder.

## Delete Server

Delete or trash your server directory.

## View Server Files

Opens the directory with your server files.

## Change Server Version

Change your server's jar file version.

## Manage Server Versions

Add or remove a version from your server's versions directory.

## Manage Latest Server Log

Open or clear the last server log

## Manage Older Server Logs

Open or delete an older server log.

## Manage ngrok

Opens the ngrok settings pane.

{% content-ref url="/pages/LufmfoEBUxJsYVwanTe1" %}
[ngrok](/app/settings/ngrok)
{% endcontent-ref %}

## Exit

Return to the main menu

{% content-ref url="/pages/IxypwIm7X7SFtfwipqmj" %}
[App](/app)
{% endcontent-ref %}


# ngrok

<figure><img src="https://3925977709-files.gitbook.io/~/files/v0/b/gitbook-x-prod.appspot.com/o/spaces%2F6KUytwtRFlOcYvOO6fpF%2Fuploads%2Fjv6VSNijYTrpixKUgAEk%2Fv2_ngrok.png?alt=media&amp;token=ea412169-6f48-4f11-ac7b-7fb20c2b8d53" alt="Servercraft ngrok settings. Information below."><figcaption></figcaption></figure>

## What is ngrok?

ngrok is a tunneling service that allows secure and reliable access to local servers and applications from other devices. It creates a secure connection between a public endpoint hosted by ngrok and a locally running server, providing a temporary public URL that can be used to access the local server's resources remotely.

## Toggle ngrok

Turn ngrok on or off.

## Set Authtoken (REQUIRED) <a href="#set-authtoken" id="set-authtoken"></a>

Set your ngrok authtoken. A free authtoken is required as Servercraft uses TCP protocol. Your Authtoken is stored locally on your computer and is never sent to anyone.

{% embed url="<https://dashboard.ngrok.com/get-started/your-authtoken>" %}

## Set Subdomain

If you pay for ngrok, you can set a custom subdomain here.

## Config file

Open the config files for ngrok.

## Set Region

Set your ngrok region, default: `us`

## Manage ngrok Account

Opens ngrok dashboard in your browser.

{% embed url="<https://dashboard.ngrok.com/>" %}

## Learn more

Opens ngrok.com.

{% embed url="<https://ngrok.com/>" %}

## Back

Return to settings pane.


# Developer Settings

<figure><img src="https://3925977709-files.gitbook.io/~/files/v0/b/gitbook-x-prod.appspot.com/o/spaces%2F6KUytwtRFlOcYvOO6fpF%2Fuploads%2FTyNL7eP05y3M2p1MiYPX%2Fv2_settings-dev.png?alt=media&amp;token=36c25c21-9ca1-488a-90a7-dda9fc6e63d7" alt="Servercraft dev settings. Information below."><figcaption></figcaption></figure>

## Show Developer Options

Holding shift on the settings pane will reveal developer options.

## View App Data

`View Server Files` becomes `View App Data` which will open the Application Support files where Servercraft stores its configuration.

## Open App Logs

Open the app's log file.

## Clear App Logs

Clears the app's log file.


# Node.js

Servercraft can also be used programmatically through Node.js. To get started, install the package.

```bash
npm i servercraft
```

## Initialize

```js
const servercraft = require('servercraft')
const server = new servercraft()
```

## Setup

```js
server.setup(startAfter, args, config, version)
```

If `startAfter` is false, you can omit or pass `null` for the `args` and `config` parameters. If `startAfter` is true, you can omit the `config` parameter.

## Start

```js
server.start(args, config)
```

## Stop

```js
server.stop()
```

## Get IP

```js
server.ip
```

Args are command-line arguments, and config is a JSON object. You can find a list of all the arguments [here](/args). You can find a list of all the config options below.

## Download

Servercraft also allows you to only download a JAR file to a directory.

```javascript
require('servercraft').download('version', 'target dir')
```

## Config

| Parameter           | About                                                                                       | Type   |
| ------------------- | ------------------------------------------------------------------------------------------- | ------ |
| maxMemoryAllocation | maxMemoryAllocation is the maximum amount of memory that the server can use. This is in MB. | Number |
| minMemoryAllocation | minMemoryAllocation is the minimum amount of memory that the server can use. This is in MB. | Number |

### Start

{% hint style="info" %}
`config` is optional
{% endhint %}

```javascript
servercraft.start('args', { maxMemoryAllocation:"1024M", minMemoryAllocation:"1024M" )
```

### Setup

```javascript
servercraft.setup(startAfter,'args',config)
```

<table><thead><tr><th>Parameter</th><th>About</th><th>Type</th><th data-type="checkbox">Required</th></tr></thead><tbody><tr><td>startAfter</td><td>Start server after setup</td><td>bool</td><td>true</td></tr><tr><td>args</td><td>If startAfter is true, pass these command-line arguments to <code>start()</code></td><td>string</td><td>false</td></tr><tr><td>config</td><td>If startAfter is true, pass this to <code>start()</code></td><td>object</td><td>false</td></tr></tbody></table>

### Delete your server

```javascript
servercraft.delete()
```

### Get path to the directory&#x20;

```javascript
servercraft.dirpath
```


# CLI

## Download

```bash
sudo npm i servercraft -g
```

The Servercraft **CLI** is only available on [npm](https://npmjs.com/servercraft) (macOS, Windows, & Linux are supported)

Don't have Node.js & NPM? Download instructions can be found at <https://nodejs.dev/learn/how-to-install-nodejs>. And the download can be found at <https://nodejs.dev/download/>.

## Use

`servercraft` - Lists all the commands

`servercraft start` - Sets up & starts server&#x20;

`servercraft setup` - Sets up the server (automatically does this before starting)&#x20;

`servercraft eula` - Opens the EULA file&#x20;

`servercraft dir` - Opens the directory of server files&#x20;

`servercraft config` - Opens server.properties&#x20;

`servercraft docs` - Opens the docs

`servercraft delete` - Deletes your server

`servercraft java` - Opens Java's download page.

`ip`  - A seperate command that returns your IP address (append `--port` to return your server's IP)

### Example

```bash
servercraft start "args"
```

### Args parameter

The args parameter are added to the end of the command when the server starts.

{% hint style="warning" %}
If you want to use multiple, make sure to put them in quotes, as shown above.
{% endhint %}

{% content-ref url="/pages/owxgOgP5SVPBxVRVBXgn" %}
[Command-line Arguments](/args)
{% endcontent-ref %}


# Command-line Arguments

* `--bonusChest`
  * Generate a [bonus chest](https://minecraft.fandom.com/wiki/Bonus_chest).
* `--demo`
  * Run the server in demo mode.&#x20;
* `--eraseCache`
  * Erase server cache
* `--forceUpgrade`
  * Forces upgrade on all the chunks, so the version of all chunks matches the current server version.
* `--help`
* `--initSettings`
  * Loads settings from 'server.properties' and 'eula.txt', then exit.
* `--jfrprofile`
  * Initializes the Java Flight Recorder. (v1.18+)
* `--nogui`
  * Doesn't open the GUI when launching the server. **Not recommended if you want to monitor your server**
* `--port <Number>`
  * Overrides the server.properties value.&#x20;
* `--safeMode`
  * Loads with vanilla data pack only.
* `--serverId <String>`
* `--singleplayer`
  * Runs the server in offline mode&#x20;
* `--universe <String>`
  * The folder in which to look for world folders.&#x20;
* `--world <String>`

  * The name of the world folder

From the [wiki](https://minecraft.fandom.com/wiki/Tutorials/Setting_up_a_server).


